Product Description
Simply Elegant Stamping
A Year in the Making
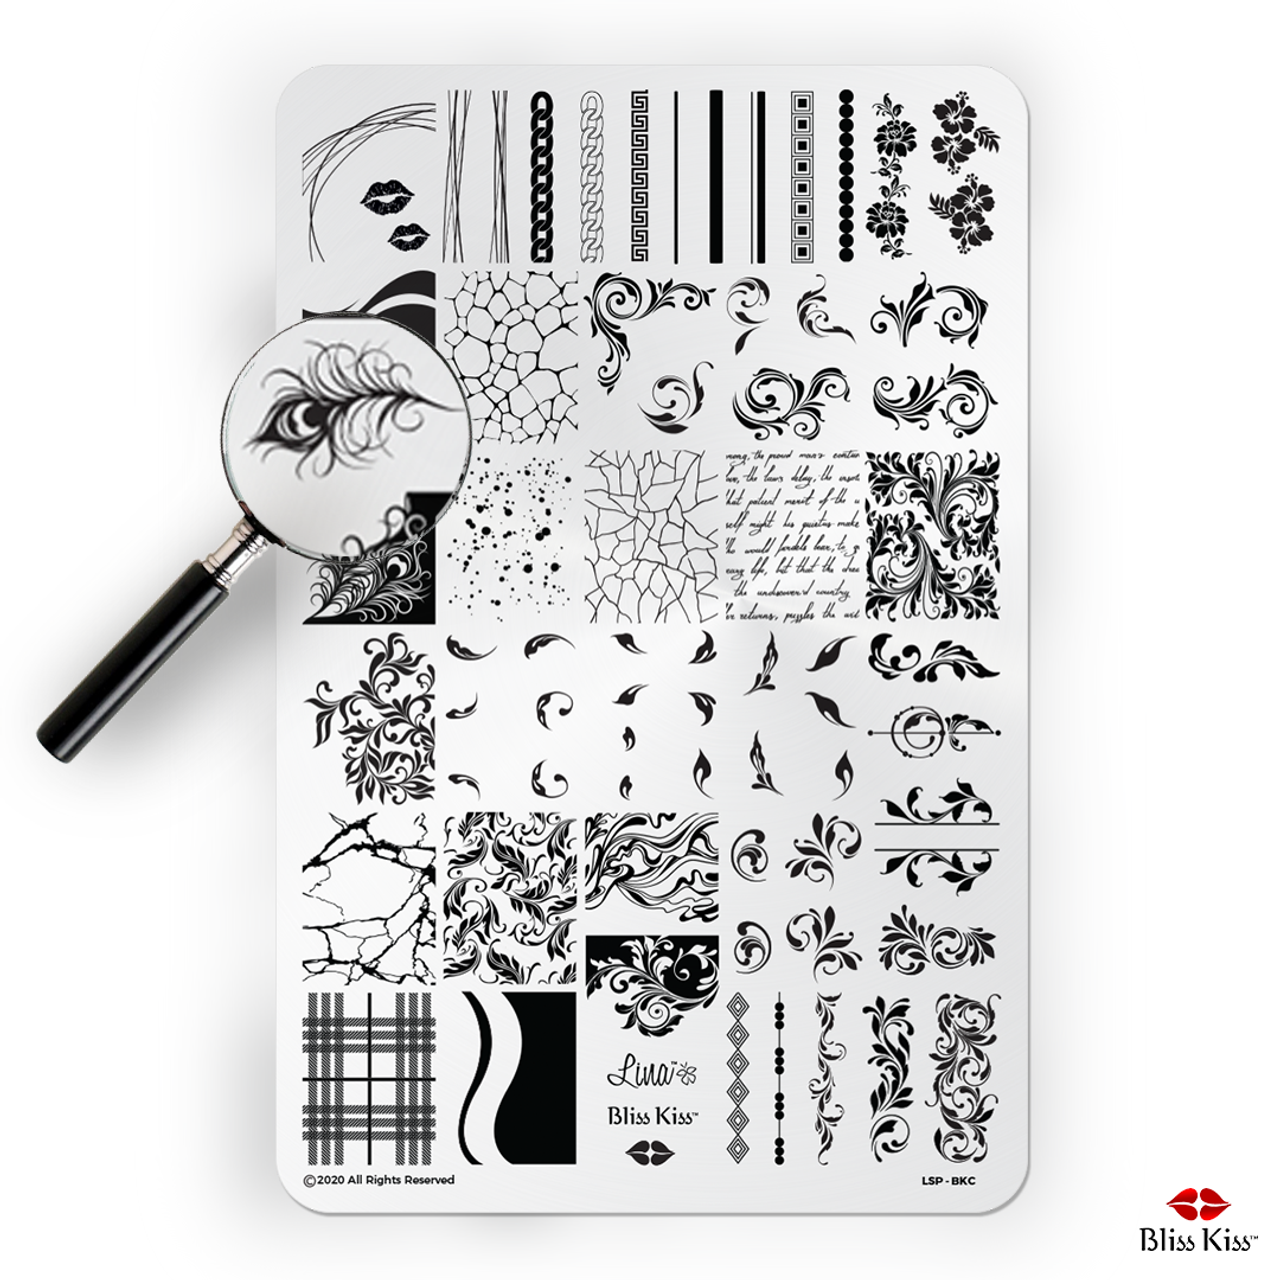
The Bliss Kiss™/Lina collaboration plate is unique because it brings several nail art trends together in one plate. This is the first stamping plate designed with the beginning stamper in mind.
The elements bordering the edge of the plate are designed so you can scrape the excess polish right off the edge without picking up the neighboring images.
It’s now easier for you to have more control of your image placement while working quickly.
Many of the images have been designed with small breaks so that just half of the image can be used. This is especially helpful for those of you with short nails. The middle section contains buildable swirls made popular by talented Russian artists.
Each element is mirrored to provide complete flexibility when building your own unique designs. Along with Ana’s favorite peacock feathers and swirls, she also included enough mix-and-match variety to unleash the creativity of the most serious nail artist.

You’ll be able to create
- Stripes without needing striping tape
- Bubbles without soap and water
- Paint splatters without a toothbrush
- Spiderwebs without the messy gel
- Stone veins and swirls without needing freehand painting skills
- And so much more...
Whether you’re brand new to nail art stamping or a pro, this plate will quickly become your favorite.
How to Get Gorgeous Results
PREP YOUR PLATE:
- Gently remove your new stamping plate from its packaging and remove the plastic protective film from over the metal. (An orange wood stick works well for this. Don't use your fingernails to remove the protective film! Remember, nails are jewels, not tools!
- When you first receive your plate and after every use wipe clean your plate with a cotton ball and acetone or non-acetone nail polish remover without oils. (Check out our Simply Grab™ Manicure Saver Tool.) Сlean your stamper with tape by using the sticky side to remove dry polish. (A lint-remover sticky roller works great for this!)
THE STAMPING PROCESS:
- STEP 1: APPLY POLISH - Quickly apply a thick layer of nail polish in a few strokes over the design you wish to stamp. Special stamping polishes are recommended but opaque nail polishes that do not dry very fast also work well. Try another polish if you are not getting results you want.
- STEP 2: SCRAPE EXCESS POLISH - Hold a plastic card firmly at a 45 degree angle and lightly scrape across the plate to remove excess polish. Try to only scrape once, do not push card to plate too hard and work as quickly as possible to avoid drying.
- STEP 3: TRANSFER FROM PLATE TO STAMPER - Immediately after scraping, quickly transfer the design to your stamper by lightly rolling once across the design from one side to the other or pushing once straight into the design.
- Troubleshooting: If your image does not transfer you may need to work faster, scrape differently (less pressure or new angle), prime your stamper (with acetone or gentle nail file/buffer) or try another opaque nail polish that doesn’t dry very fast.
- STEP 4: TRANSFER FROM STAMPER TO NAIL - Quickly transfer the image from the stamper onto a nail with an oil free and completely dry base color. With a squishier stamper push the stamper straight to the nail, with other stamper heads it might work better to roll it once from side to side to transfer image. Remove excess nail polish from your skin and cuticles by using a flat brush or cotton swab dipped in acetone or nail polish remover, you could use tape to lift excess polish from your skin as well.
- YOU HAVE ABOUT 5 SECONDS TO TRANSFER THE DESIGN FROM THE PLATE TO YOUR NAIL BEFORE IT DRIES.
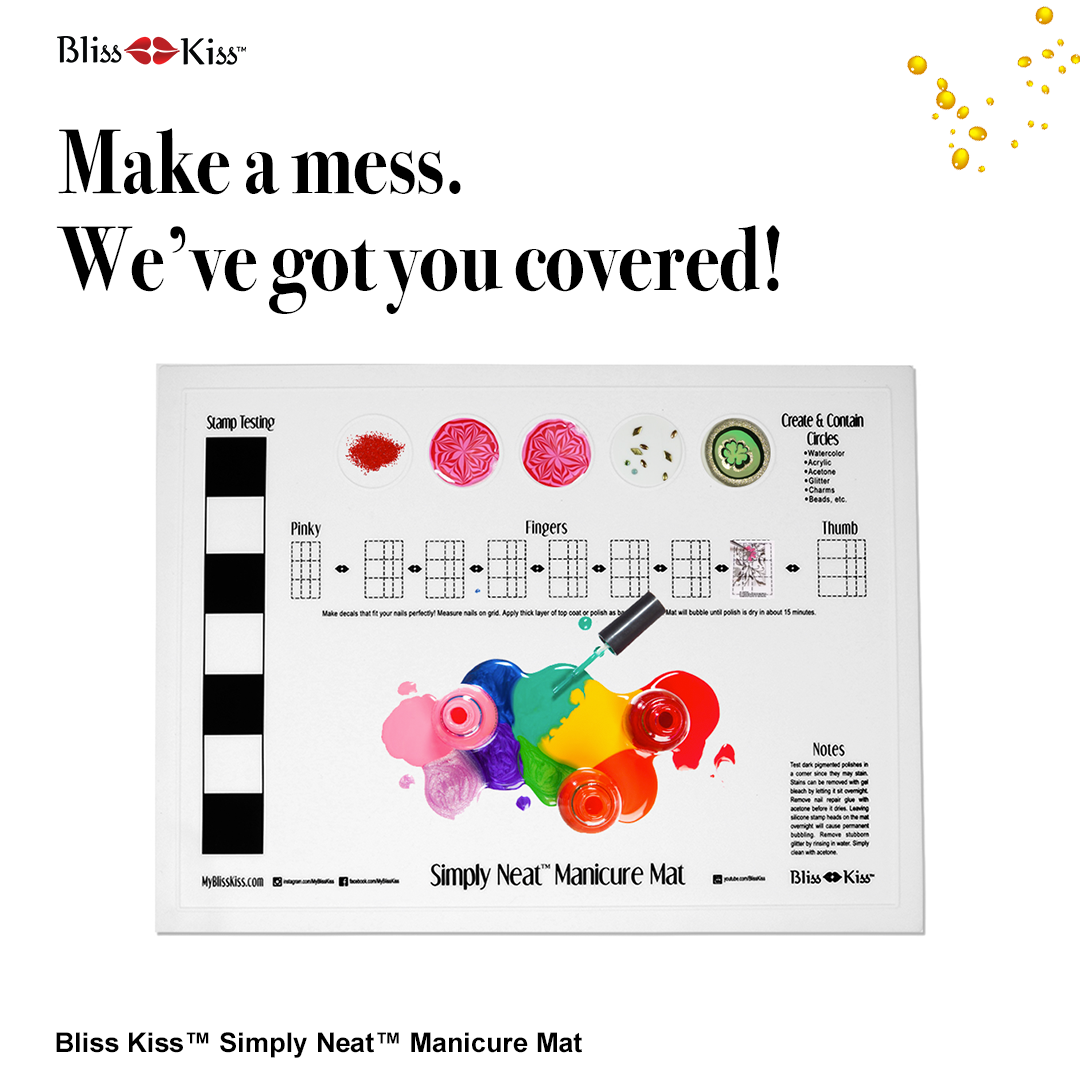
Pro tip: You may find it helpful to test designs on your mat or a piece of paper before you put it on your nail as you get the technique down.
- STEP 5: SEAL YOUR DESIGNS WITH A TOPCOAT - When design is completely dry on your nail, apply a layer of fresh top coat with as few strokes as possible. Place a big drop at the cuticle and hold brush parallel to the nail while applying, trying not to touch the nail with the bristles, to help prevent smearing. (Here's a link to a video from Nailed in NZ where Jessie shows how to "float" top coat to avoid smearing.)
Stamping Tutorial Videos
New to stamping? Check out these videos of Ana teaching her two friends how to stamp.
Helpful Stamping Tools to Make Your Life Easier
Product Videos
Custom Field
Product Reviews
6 Reviews
-
Great Basic Plate
I used this plate earlier this week. I love the images for layering art designs. They pick up well and it was easy to get a clean stamping image. The only downside was that the etching is sharp and I had to make sure cotton wasn't left behind after cleaning it. I'd buy it again.
-
I love this plate!
This is plate has a little bit of everything, and it’s etched so nicely. I always get a clean pick up and transfer.
-
Best plate I own
I was so excited about this plate. Then I got it and loved it even more. This is going to be my go to for so many manicures.
-
Beautiful, Well Etched, Versatile, Creative & Well Thought Out Stamping Plate.
This stamping plate is one of the best one’s in my pretty large collection of plates. The fact that Ms. Ana Seidel actually spent over a year looking into designs and how they can be combined in unlimited numbers of combinations to get a very unique and beautiful manicure with nail art. My plate is well loved and I’ve used it probably the most so far when choosing stamping as my latest nail art look. I’ve never had any trouble picking up my chosen images on it, except when I’ve used the wrong type of scraper card to scrape my stamping polish, or I’ve messed up the angle I’ve scraped at, or I’ve waited too long to pick my image up off the plate. However, when I’ve done all my steps correctly, I’ve had perfect results and picked up super crisp images that transfer perfectly onto my nail. All in all this plate is one that I am thoroughly happy that I’ve bought, and as with all the bliss products I’ve bought and keep returning to buy this plate has the high standard that I’ve come expect from their products.
-
Disappointing
I love the designs on this stamp template but they are extremely fine and it makes it hard to get a stamp. I don’t recommend this one.
-
Not great but love designs
I maybe doing it wrong, but my stamper will not pick up most of the designs. I love the choices if I could get it to work.
 US Dollars
 CAD
CAD
 Euro
Euro


