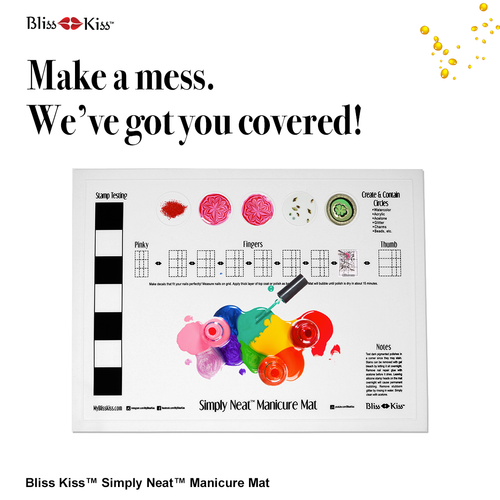
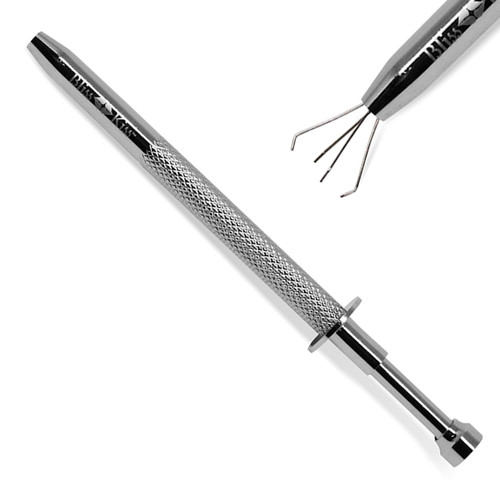
Product Description
It Just Got Easier to Create Stunning Nail Designs
Get the delicate details in your manicure that will make your friends - and even strangers - gasp in awe! And you won’t have to pay salon prices to get them!
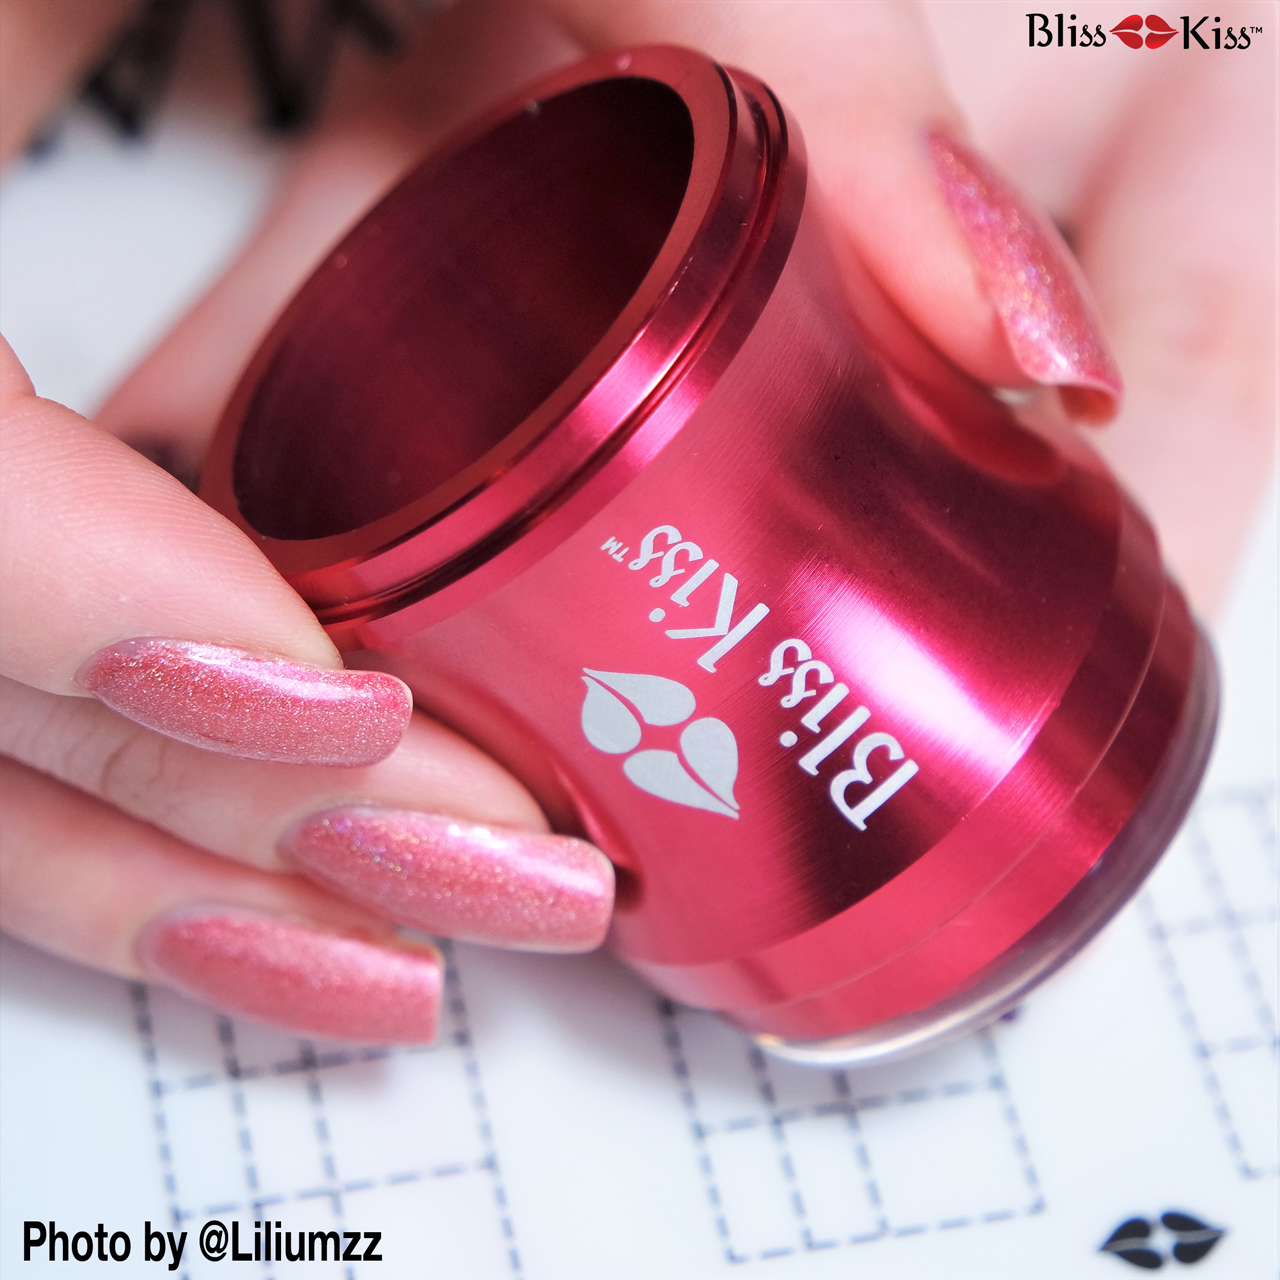
Whether you’re doing an accent nail or a whole stamped manicure, the Bliss Kiss™ Stamp & Scrape™ Set will make it easier for you to get stunning results.
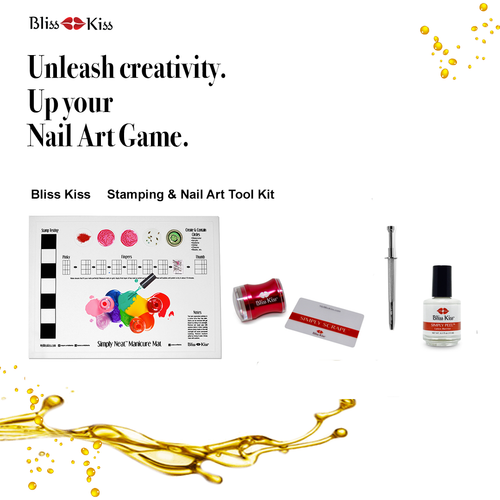
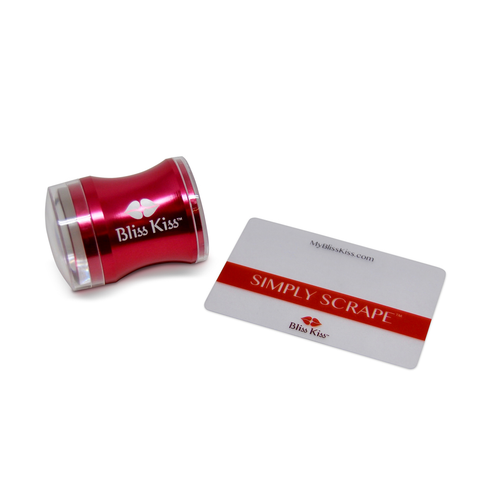
The Stamp & Scrape™ set comes with 1 stamper (includes metal handle, silicone stamp head, and lid for top and bottom) and 1 scraper.
We know there are a lot of other stampers out there. But Ana wanted to bring you the BEST solution possible. After nearly a year of research and testing, Ana finally found the combination that is as close as we can get to perfect to set you up for stamping success (and the Stamp & Scrape™ set is guaranteed to work with your Simply Neat™ Miracle Mat™). Because at Bliss Kiss™ we know you put your trust in us, and that’s why settle for nothing less than the best!
You’re Covered By Our Bliss Kiss™ Satisfaction Guarantee
The sturdy aluminum alloy stamping handle and lids come with an unconditional lifetime guarantee. The silicone stamping heads come with a 6-month guarantee against normal use. (The squishy nature of all silicone stamping heads make them somewhat prone to normal wear and tear.)
Product Details:
-
Includes silicone stamper head, handle with top and bottom caps, and scrape card. (Does NOT include stamping plates or or polish.)
-
Handle height: 4.5 cm tall x 4 cm tall
-
Handle color: Red
-
Silicone stamp head: approximately 3.8 cm diameter x 1 cm tall
-
Silicone stamp head color: clear
-
Simply Scrape™ Card: 8 cm x 5 cm
-
Total approximate product weight:
How to Use Stamp & Scrape™
Preparation is the key to stamping success!
-
Working fast is the best way to get great results. Gather all your tools, polish, cotton balls, pure acetone etc. to your workstation so you have everything you need at your fingertips to create your manicure masterpiece.
-
To get your stamp head ready for use, simply wash with warm water (no soap) and let air dry. Do NOT rough up the silicone stamp head with a file or acetone or other abrasives. This will damage the head and will make the silicone hazy.
-
If your stamper stops picking up the polish from the stamping plate, gently roll tape or lint roller over the silicone head. If you’re still experiencing issues, rinse the silicone head in warm water and air dry. (Don’t use a towel to dry the stamp head. It will get covered with lint and fuzz.)
NOTE: Stamping is an advanced technique and takes some practice. So if your first few attempts don’t work out well, be patient and keep practicing!
One of the best secrets to success with stamping is to MOVE QUICKLY! You only have about 5 seconds to complete steps 1-4 before the nail polish dries on the plate or stamper head.
To get a feel for how long you have before your polish dries, count out loud “1-one thousand, 2-one thousand, 3-one thousand, 4-one thousand, 5-one thousand” while you’re completing steps 1-4. We recommend that you practice first stamping directly onto a piece of paper while you get used to the rhythm of the process to save on cleanup time on your nails or Miracle Mat™.
-
Apply nail polish on your nail stamping plate. (Nail polish and stamping plates are sold separately). Betty’s Beauty Bombs has some great articles on stamping tips, including which types of polishes work best for stamping. Check out her blog here.
-
Using your Scrape card, scrape off the excess polish quickly.
-
Quickly stamp the image on the stamping plate. (Stamp directly on the plate, no rolling required to pick up the polish).
-
Quickly stamp the image onto your nail (one at a time) or your Miracle Mat™.
-
After completing your stamping, make sure you protect your artwork with a clear topcoat.
We recommend cleaning your stamping plate with a cotton ball and pure acetone (not nail polish remover - these often contain additives that will leave a residue on your plate and make it more difficult to transfer the polish) after each stamp transfer. Some nail artists are able to do two stamp transfers with each application of polish to the stamping plate. Figure out what works best for you.
Ninja Nail Art Tips
-
Remember speed is the first key to stamping success! Practice is the second key. If you’re struggling, it’s okay. Just keep practicing until you get your speed up. If you’re still having troubles, check out Betty’s Beauty Bombs tips to troubleshooting stamping here.
-
If your silicone stamp head isn’t staying in the handle, your stamper may be too cold (metal and silicone shrink when they’re cold) use your hair dryer on medium heat setting and blow over stamp handle and stamp head for about 10-15 seconds.
-
If your nail polish isn’t sticking to the stamper, try gently cleaning with lint roller. If you’re still having difficulty, try rinsing the stamping head in warm water (don’t use soap) and let the stamping head air dry.
PRODUCT DAMAGE WARNING: Protect your silicone mat! Don’t leave the silicone stamper on your silicone mat (the Simply Neat™ Miracle Mat™ or anyone else’s). Even just 30 minutes can cause irreversible bubbling, depending on the mat. When you’re done stamping, clean your stamp head with a lint roller to remove excess polish and replace protective cap and put it away until you’re ready to create your next nail art stamping masterpiece!
Product Care Instructions
-
Clean the stamp head with tape or lint roller to remove excess nail polish. (Lint roller not included).
-
You can also rinse the stamp head in clean warm water. (Don’t use soap!)
-
Try not to touch the silicone stamp head with your fingers. The oils from your skin will cause the nail polish stamp to not stick well. Remove fingerprints with a lint roller or rinse in warm water (no soap) and let air dry before replacing in stamp handle.
-
Do not use alcohol, acetone, or nail polish remover to clean the head. It will damage the silicone.
-
Do not file or use other abrasives on the silicone stamp head! It will damage it.
-
No need to worry if you get nail polish on the handle! Simply wipe the sturdy aluminum alloy handle clean with pure acetone (other polish removers may contain additives that will leave a film that can get your stamper head and affect your stamping results). Just remember to avoid getting acetone or nail polish remover on the silicone stamp head!
IMPORTANT NOTE:
- We've had some issues with lids cracking during shipping. If you receive your order with a crack in the lid, or any other damage as your product bounces from plane to truck to your front door, let us know! We'll take care of you and make sure you're satisfied with your purchase.
Product Videos
Videos Hide Videos Show Videos
-

[Nail Art Tutorial] Reverse Stamping from the Marvelous @Liliumzz
Tutorial by @Liliumzz ❤︎ Products Used: ❤︎ Bliss Kiss Simply ...
-

Beginner Nail Art Stamping Basics Tutorial with Ana of Bliss Kiss. You can learn to stamp! Part 1
Join Ana and her best friends, Britt and Kirsten, for the ulti...
-

Beginner Nail Art Stamping Basics Tutorial with Ana of Bliss Kiss. You can learn to stamp! Part 2
Join Ana and her best friends, Britt and Kirsten, for the ulti...
-

Beginner Nail Art Stamping Basics Tutorial with Ana of Bliss Kiss. You can learn to stamp! Part 3
Join Ana and her best friends, Britt and Kirsten, for the ulti...
Custom Field
Product Reviews
19 Reviews
-
The best so far!
I've tried quite a few different stampers that are out on the market, but this one is by far the best I've used! I'm so glad I decided to try it (it almost didn't make it into my shopping cart!) If you are wanting a new stamper or if you are new to stamping, you have to get this one. Works perfectly every time!
 US Dollars
 CAD
CAD
 Euro
Euro


